How to play sound effects with html5 and javascript, and where to find them
soon…
How to play sound effects with html5 and javascript, and where to find them Read Post »

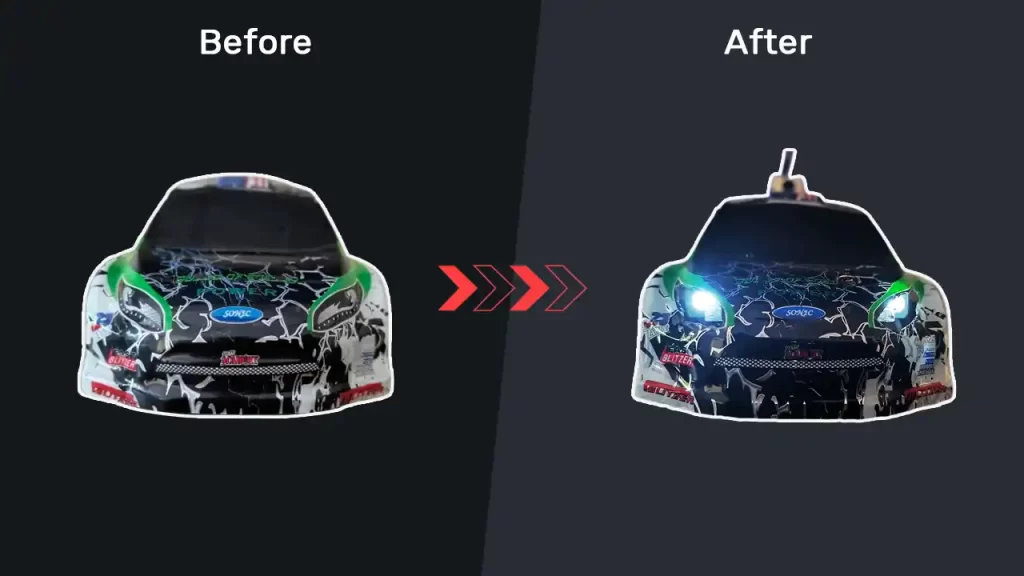
You can control headlights, brakelights or any other lights for your car with our Steering Wheel or PS4 controller. Install them to look cool. See how
Add Lights to your RC Car Read Post »
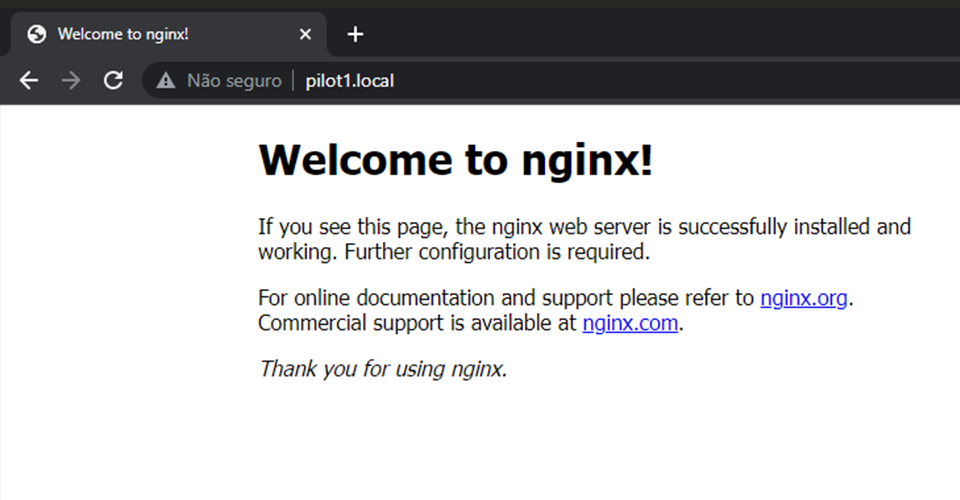
What is Nginx ? Nginx (pronounced “engine-x”) is a popular open-source web server and reverse proxy server software. It’s known for its high performance, scalability, and reliability, making it a widely used choice for serving web content and managing network traffic on the internet. Nginx is available for various operating systems and is highly customizable through its configuration files. It’s widely used by web developers and system administrators to optimize web server performance, improve web application security, and manage network traffic efficiently. What is OpenSSL ? OpenSSL is an open-source software library that provides cryptographic functions and protocols for secure communication over computer networks. It is widely used for implementing secure communication in various applications and systems, including web servers, email servers, virtual private networks (VPNs), and more. OpenSSL plays a crucial role in securing internet communications, including the encryption of web traffic, email communication, and the establishment of secure VPN connections. However, it has faced security vulnerabilities and issues in the past, leading to efforts to improve its security and maintainability. Users are encouraged to keep their OpenSSL installations up to date to address security concerns and vulnerabilities. Install Nginx + PHP + SSL Nginx is the webserver used to display the pages. We’ll need to install an SSL certificate because in order to use Websockets and WebRTC, a secure connection to the browser is necessary. The the certificate isn’t fully valid on localhost, but it won’t matter for our purposes. $ sudo apt-get install -y nginx php-fpm libnss3-tools openssl Generate a SSL certificate for Nginx $ sudo openssl req -x509 -nodes -days 365 -newkey rsa:2048 -keyout /etc/ssl/private/nginx-selfsigned.key -out /etc/ssl/certs/nginx-selfsigned.crt When it’s done, you’ll be asked a to fill a few fields.The really important one is the IP address 127.0.0.1 on line 6. The others can be anything. Country Name (2 letter code) [AU]: US State or Province Name (full name) [Some-State]: YOUR_STATE Locality Name (eg, city) []: YOUR_CITY Organization Name (eg, company) [Internet Widgits Pty Ltd]: SOME_NAME Organizational Unit Name (eg, section) []: SOME_NAME Common Name (e.g. server FQDN or YOUR name) []: 127.0.0.1 Email Address []: YOUR_EMAIL $ sudo openssl dhparam -out /etc/ssl/certs/dhparam.pem 2048 Create a new file: $ sudo nano /etc/nginx/snippets/self-signed.conf Paste the code below [Right Click] and save the file with: [Ctrl+X], then ‘Y’ + [Enter] to save. ssl_certificate /etc/ssl/certs/nginx-selfsigned.crt; ssl_certificate_key /etc/ssl/private/nginx-selfsigned.key; Create a new file: $ sudo nano /etc/nginx/snippets/ssl-params.conf Paste the code below [Right Click] and save the file with: [Ctrl+X], then ‘Y’ + [Enter] to save. # from https://cipherli.st/ # and https://raymii.org/s/tutorials/Strong_SSL_Security_On_nginx.html ssl_protocols TLSv1 TLSv1.1 TLSv1.2; ssl_prefer_server_ciphers on; ssl_ciphers “EECDH+AESGCM:EDH+AESGCM:AES256+EECDH:AES256+EDH”; ssl_ecdh_curve secp384r1; ssl_session_cache shared:SSL:10m; ssl_session_tickets off; ssl_stapling on; ssl_stapling_verify on; resolver 8.8.8.8 8.8.4.4 valid=300s; resolver_timeout 5s; # Disable preloading HSTS for now. You can use the commented out header line that includes # the “preload” directive if you understand the implications. #add_header Strict-Transport-Security “max-age=63072000; includeSubdomains; preload”; add_header Strict-Transport-Security “max-age=63072000; includeSubdomains”; add_header X-Frame-Options DENY; add_header X-Content-Type-Options nosniff; ssl_dhparam /etc/ssl/certs/dhparam.pem; Check your PHP version and your php-fpm.sock version to change your nginx.conf file after:See my results: $ php –version PHP 8.3.6 $ ls /run/php/ php8.3-fpm.pid php8.3-fpm.sock php-fpm.sock Take note of your results and change these lines of your nginx file: $ sudo nano /etc/nginx/sites-enabled/default # change root folder to: root /home/USERNAME/www; # ADD index.php to the list of pages index.php # uncomment these lines location ~ .php$ { include snippets/fastcgi-php.conf; # # # With php-fpm (or other unix sockets): fastcgi_pass unix:/var/run/php/php8.3-fpm.sock; # # With php-cgi (or other tcp sockets): # fastcgi_pass 127.0.0.1:9000; } # deny access to .htaccess files, if Apache’s document root # concurs with nginx’s one # location ~ /.ht { deny all; } Complete files: sites-enabled/default sites-enabled/default (Modified) ## # You should look at the following URL’s in order to grasp a solid understanding # of Nginx configuration files in order to fully unleash the power of Nginx. # https://www.nginx.com/resources/wiki/start/ # https://www.nginx.com/resources/wiki/start/topics/tutorials/config_pitfalls/ # https://wiki.debian.org/Nginx/DirectoryStructure # # In most cases, administrators will remove this file from sites-enabled/ and # leave it as reference inside of sites-available where it will continue to be # updated by the nginx packaging team. # # This file will automatically load configuration files provided by other # applications, such as Drupal or WordPress. These applications will be made # available underneath a path with that package name, such as /drupal8. # # Please see /usr/share/doc/nginx-doc/examples/ for more detailed examples. ## # Default server configuration # server { listen 80 default_server; listen [::]:80 default_server; # SSL configuration # # listen 443 ssl default_server; # listen [::]:443 ssl default_server; # # Note: You should disable gzip for SSL traffic. # See: https://bugs.debian.org/773332 # # Read up on ssl_ciphers to ensure a secure configuration. # See: https://bugs.debian.org/765782 # # Self signed certs generated by the ssl-cert package # Don’t use them in a production server! # # include snippets/snakeoil.conf; root /var/www/html; # Add index.php to the list if you are using PHP index index.html index.htm index.nginx-debian.html; server_name _; location / { # First attempt to serve request as file, then # as directory, then fall back to displaying a 404. try_files $uri $uri/ =404; } # pass PHP scripts to FastCGI server # #location ~ .php$ { # include snippets/fastcgi-php.conf; # # # With php-fpm (or other unix sockets): # fastcgi_pass unix:/run/php/php7.4-fpm.sock; # # With php-cgi (or other tcp sockets): # fastcgi_pass 127.0.0.1:9000; #} # deny access to .htaccess files, if Apache’s document root # concurs with nginx’s one # #location ~ /.ht { # deny all; #} } # Virtual Host configuration for example.com # # You can move that to a different file under sites-available/ and symlink that # to sites-enabled/ to enable it. # #server { # listen 80; # listen [::]:80; # # server_name example.com; # # root /var/www/example.com; # index index.html; # # location / { # try_files $uri $uri/ =404; # } #} ## # You should look at the following URL’s in order to grasp a solid understanding # of Nginx configuration files in order to fully unleash the power of Nginx. # https://www.nginx.com/resources/wiki/start/ # https://www.nginx.com/resources/wiki/start/topics/tutorials/config_pitfalls/
How to install Nginx server with PHP and SSL (Linux) Read Post »
